Creating managed online endpoints in Azure ML without using MLflow
Created:
Topic: Azure ML: from beginner to pro
Introduction
In this post, you’ll learn how to deploy a non-MLflow model using managed online endpoints in Azure ML. If you have a choice on how to save your model, I highly recommend that you use MLflow because deployment is so much easier to implement — you can learn more about it in my blog post on the topic. But if you have to work with a model that was not saved using MLflow, you can still use Azure ML to deploy it. I’ll explain how in this post.
The code for this project can be found on GitHub. The README file for the project contains details about Azure and project setup.
Training on your development machine
In order to focus the topic of this blog post on endpoints, we’ll train the model on our development machine, and then we’ll deploy it directly to Azure ML. If you’re interested in learning how to train using Azure ML, you can read my blog post on the topic.
You can train the model by going to “Run and Debug” in VS Code’s left navigation, selecting the “Train locally” configuration, and pressing F5. A new model folder will be created, containing the trained model.
Creating the scoring file
When deploying a non-MLflow model on Azure ML, we need to provide a scoring file, which contains the code that gets executed when invoking the endpoint. (Note that we don’t need to do this when using MLflow.)
This scoring file needs to follow a prescribed structure: it needs to contain an init() function that will be called when the endpoint is created or updated, and a run(...) function that will be called every time the endpoint is invoked.
Let’s take a look at the init() function in score.py first. In our simple scenario, this function’s main task is to load the model:
import json
import logging
import os

import torch
from torch.utils.data import DataLoader, TensorDataset
from torchvision.datasets import FashionMNIST

from neural_network import NeuralNetwork
from utils_score_nn import predict

model = None
device = None
BATCH_SIZE = 64


def init() -> None:
    logging.info("Init started")

    global model
    global device

    device = "cuda" if torch.cuda.is_available() else "cpu"
    logging.info("Device: %s", device)

    model_path = os.path.join(os.getenv("AZUREML_MODEL_DIR", default=""),
                              "model/weights.pth")

    model = NeuralNetwork().to(device)
    model.load_state_dict(torch.load(model_path, map_location=device))

    logging.info("Init completed")
Because the code in train.py saved only the learned weights, we need to instantiate a new version of the NeuralNetwork class before we can load the saved weights into it. Notice the use of the AZUREML_MODEL_DIR environment variable, which gives us the path to the model root folder on Azure. Notice also that since we’re using PyTorch, we need to ensure that both the loaded weights and the neural network we instantiate are on the same device (GPU or CPU).
I find it useful to add logging.info(...) calls at the beginning and end of the function to make sure that it’s being called as expected. When we cover invoking the endpoint, I’ll show you where to look for the logs. I also like to add a logging.info(...) call that tells me whether the code is running on GPU or CPU, as a sanity check.
The main task of the run() function of score.py is to invoke our model with the data passed as a parameter, and to return a prediction:
def run(raw_data: str) -> list[str]:
    logging.info("Run started")

    json_list = json.loads(raw_data)["input_data"]["data"]
    x = DataLoader(TensorDataset(torch.Tensor(json_list)),
                   batch_size=BATCH_SIZE)

    predicted_indices = predict(x, model, device)
    predictions = [
        FashionMNIST.classes[predicted_index]
        for predicted_index in predicted_indices
    ]

    logging.info("Predictions: %s", predictions)

    logging.info("Run completed")
    return predictions
This function takes a raw_data parameter as input, which contains the data we specify when invoking the endpoint. In our scenario, we’ll be passing in a JSON dictionary with a data key corresponding to a 28 × 28 matrix containing an image with float pixel values between 0.0 and 1.0. The run(...) function parses the JSON and transforms the data into a DataLoader. The DataLoader is passed to the predict(...) function, which returns an integer label for each input image. We then convert the predicted indices into human-readable names, and return those names. You can look at the predict(...) function in the utils_score_nn.py file to understand what it does.
That’s all we need in our scoring file! Now we need to test it.
Inference on your development machine
Before deploying your model to the cloud, it’s always a good idea to ensure that inference works on your development machine. If your model had been saved using MLflow, you could have used the MLflow CLI. But that’s not our scenario in this post, so we’ll have to use other techniques. If you’re running your project on GitHub Codespaces, you can run the “Test locally” configuration, which runs some simple code that ensures we can invoke the model as expected.
If you’re not using GitHub Codespaces, you can use Azure ML’s local endpoint feature to test the actual endpoint and deployment on your local machine, using a Docker container. This is what I’ll focus on in this section.
We’ll start by defining our local endpoint, in the endpoint.yml YAML configuration file:
$schema: https://azuremlschemas.azureedge.net/latest/managedOnlineEndpoint.schema.json
name: endpoint-online-no-mlflow
auth_mode: key
We give it a schema so that we can get Intellisense in VS Code, then we specify a name for the endpoint and choose key authentication mode. If you want to learn more about authentication for endpoints, check out my post on endpoints using MLflow.
Next we need to define a local deployment for this endpoint in the deployment-local.yml file:
$schema: https://azuremlschemas.azureedge.net/latest/managedOnlineDeployment.schema.json
name: blue
endpoint_name: endpoint-online-no-mlflow
model:
  path: ../model
code_configuration:
  code: ../src/
  scoring_script: score.py
environment:
  conda_file: score-conda.yml
  image: mcr.microsoft.com/azureml/openmpi4.1.0-ubuntu20.04:latest
instance_type: Standard_DS3_v2
instance_count: 1
In addition to the schema and name, we specify which endpoint this deployment is associated with, the path to the trained model, and the path to the scoring file we created in the previous section. We also specify an environment containing the set of software packages we need installed for this code to run — you can learn more about environments in this blog post. Note that if our model had been saved using MLflow we wouldn’t need to add an environment because MLflow infers the packages needed to invoke the model. We also specify an instance type (or VM size) and the number of VM instances we want — you can read more about compute in this blog post.
Since local endpoints rely on Docker containers, you’ll need to install and start the Docker Engine. Once Docker is running, you can use the CLI to create a local endpoint and deployment:
cd aml_online_endpoint_no_mlflow
az ml online-endpoint create -f cloud/endpoint.yml --local
az ml online-deployment create -f cloud/deployment-local.yml --local
Notice the --local addition to the commands! These commands are exactly the same as if you were deploying in the cloud, except for the --local flag. Once both commands finish executing, you can verify that your endpoint was created with the following command:
az ml online-endpoint list --local
Once again, this command is just like the cloud scenario except for the extra --local flag.
Now that the endpoint is created, we can invoke it locally:
az ml online-endpoint invoke --name endpoint-online-no-mlflow --request-file test_data/images_azureml.json --local
We’re using Fashion MNIST as the model in this scenario, so you should get back a list of clothing item predictions, similar to this:
"[\"Ankle boot\", \"Pullover\"]"
What if you don’t get back what you expect? You need to debug. Thankfully VS Code integrates really well with Azure ML local endpoints, making it easy to debug them. You can debug locally by invoking the following commands:
az ml online-endpoint delete -n endpoint-online-no-mlflow -y --local
az ml online-endpoint create -f cloud/endpoint.yml --local
az ml online-deployment create -f cloud/deployment-local.yml --local --vscode-debug
Notice that we create the deployment with the same command we used previously, except this time we set the --vscode-debug flag. (Ideally, instead of executing these three commands we could just update the online deployment with the flag, but this scenario is not working at the time of writing.) Once you execute this command, your code will start in a new VS Code window which is running in a new Docker image. Wait for all the extensions to load, make sure that “Azure ML: Debug Local Endpoint” is selected in the “Run and Debug” panel, and set two breakpoints, one in the init() function and another one in the run() function. If you press F5 to start debugging, you’ll hit the breakpoint in the init() function. That’s because this function is called when the deployment is created.
Press F5 again, and then execute the following command to invoke the endpoint:
az ml online-endpoint invoke --name endpoint-online-no-mlflow --request-file test_data/images_azureml.json --local
This time VS Code will break in the run() function. This code gets executed each time you invoke the endpoint. When you’re done debugging your code, you can press Shift + F5 to disconnect.
If you need to change the code in your scoring file, make the changes, choose “Developer: Reload Window” in the Command Palette (Ctrl + Shift + P) and press F5 to run.
Once your code works perfectly, you can delete the local endpoint by executing the following command:
az ml online-endpoint delete -n endpoint-online-no-mlflow -y --local
Deploying in the cloud
We’re now confident that our scoring file works correctly, and we’re ready to deploy our model in Azure ML.
Our first step is to register the trained model with Azure ML, which we can do with the following command:
az ml model create --path model --name model-online-no-mlflow --version 1
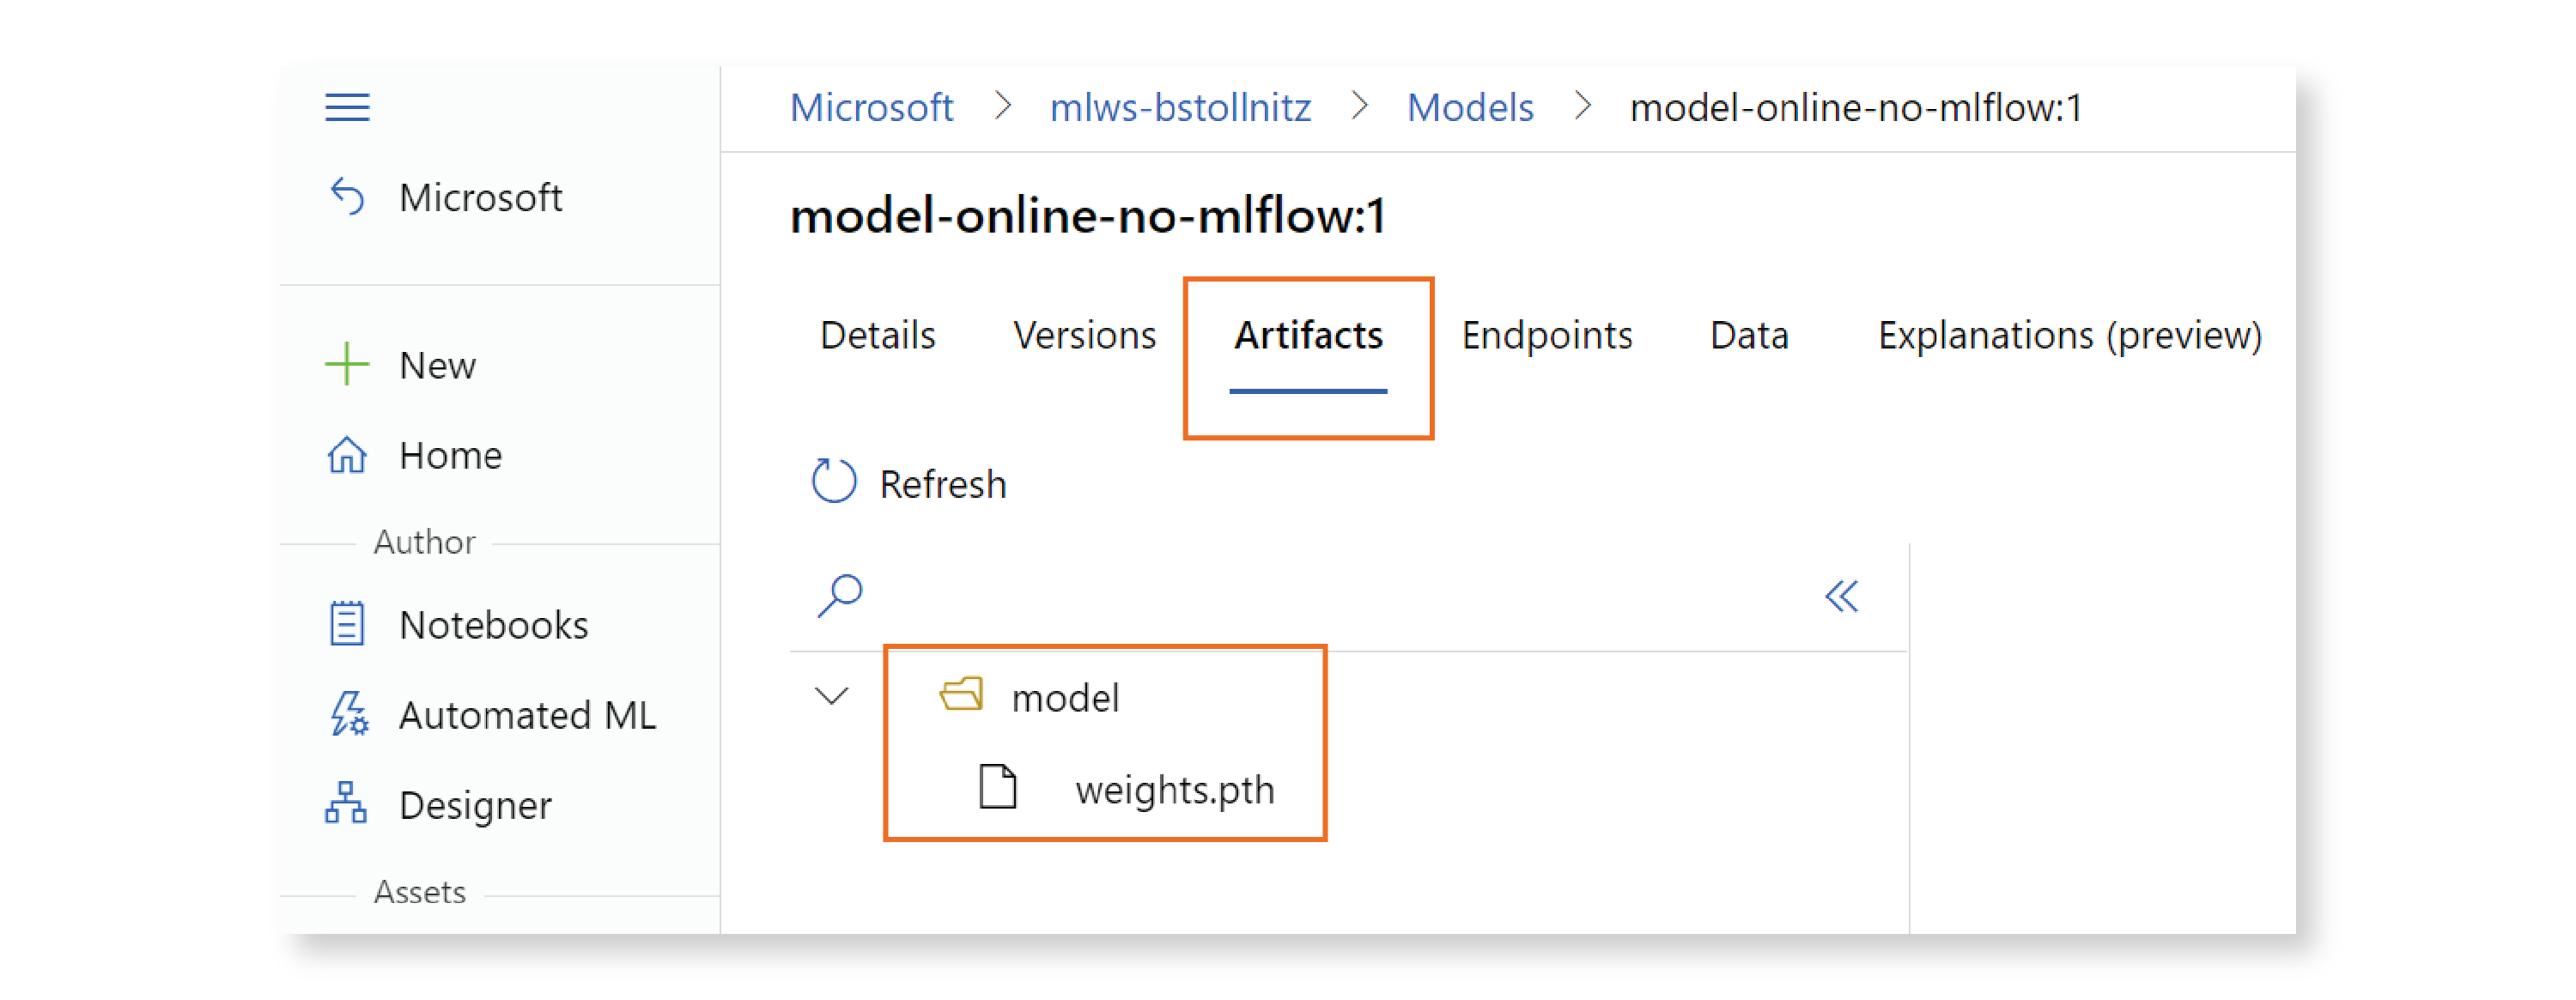
To verify that your model was registered correctly, go to the Studio, click on “Models” in the left navigation, then on the model name, and on “Artifacts” in the top navigation. You should see your trained model file, as shown below:
Now that our model is registered in the cloud, we can change the deployment YAML configuration file to refer to that cloud resource instead of the local model. Here’s deployment.yml, our new deployment configuration:
$schema: https://azuremlschemas.azureedge.net/latest/managedOnlineDeployment.schema.json
name: blue
endpoint_name: endpoint-online-no-mlflow
model: azureml:model-online-no-mlflow@latest
code_configuration:
  code: ../src/
  scoring_script: score.py
environment:
  conda_file: score-conda.yml
  image: mcr.microsoft.com/azureml/openmpi4.1.0-ubuntu20.04:latest
instance_type: Standard_DS3_v2
instance_count: 1
We can now create the endpoint and deployment, by executing the following commands:
az ml online-endpoint create -f cloud/endpoint.yml
az ml online-deployment create -f cloud/deployment.yml --all-traffic
You can verify that these resources were created in the Studio. Go to “Endpoints,” and make sure that your endpoint is listed:

If you click on the endpoint, you should see a deployment named “blue” under the “Deployment summary” section:

You can invoke the endpoint with the following CLI command:
az ml online-endpoint invoke --name endpoint-online-no-mlflow --request-file test_data/images_azureml.json
You should expect to see a result similar to what you got when you invoked the endpoint locally.
To look at the debug logs for this endpoint, click on “Deployment logs” in the Studio. If you scroll down a bit, you’ll find the logging we added to the init() and run() functions:

When you’re done with the endpoint, you can delete it to avoid getting charged:
az ml online-endpoint delete --name endpoint-online-no-mlflow -y
Conclusion
In this post, you learned how to deploy a non-MLflow model in the cloud using Azure ML. This scenario is different from the MLflow deployment scenario in the following ways:
- Local inference requires a Docker image, so we need to have the Docker Engine running. In the MLflow scenario, you can make a local prediction using the MLflow CLI.
- We need to create a scoring file with an
initfunction that is called when the deployment is created, and arunfunction that is called when we invoke the endpoint. This file is not needed when using MLflow because MLflow knows how to call the trained model. - We need to specify an environment in the deployment definition YAML file. This is also not needed when using MLflow because MLflow infers the dependencies from your code.
Thank you for reading!
Read next: Creating batch endpoints in Azure ML