Choosing the environment for Azure ML resources
Created:
Updated:
Topic: Azure ML: from beginner to pro
Introduction
When creating Azure ML resources such as jobs and endpoints, you often need to make decisions regarding the environment used to run your code in the cloud. The environment specifies the software runtime and libraries that you want installed and how you want them configured. You’ll need to select an environment when training your model in the cloud (for example, when creating a command job), or when deploying your trained model for consumption (for example, with a managed online endpoint).
This post discusses curated and custom environments, and provides sample code for common scenarios. I’ll assume that you’re already familiar with the basic concepts of Azure ML, and that you have some experience using Azure ML for your own projects.
Regardless of which type of environment you choose, please keep in mind that the environment selection should match the virtual machine type you choose for your compute. So, for example, if you want to take advantage of a machine with a GPU, make sure you specify an environment that installs CUDA. For more information on how to choose virtual machines, see my post on Choosing the compute for Azure ML resources.
The code for this project can be found on GitHub. Feel free to follow along on GitHub as you read the post. The README file for the project contains details about Azure and project setup.
Let’s take a look at each of the environment types.
Curated environments
Curated environments are prebuilt Docker images provided by Microsoft, and they’re the easiest to get started with. In addition to Ubuntu and optional GPU support, they include different versions of TensorFlow and PyTorch, as well as many other popular frameworks and packages. A curated environment is a great choice if its pre-installed packages cover your needs because it will deploy more quickly than custom environments.
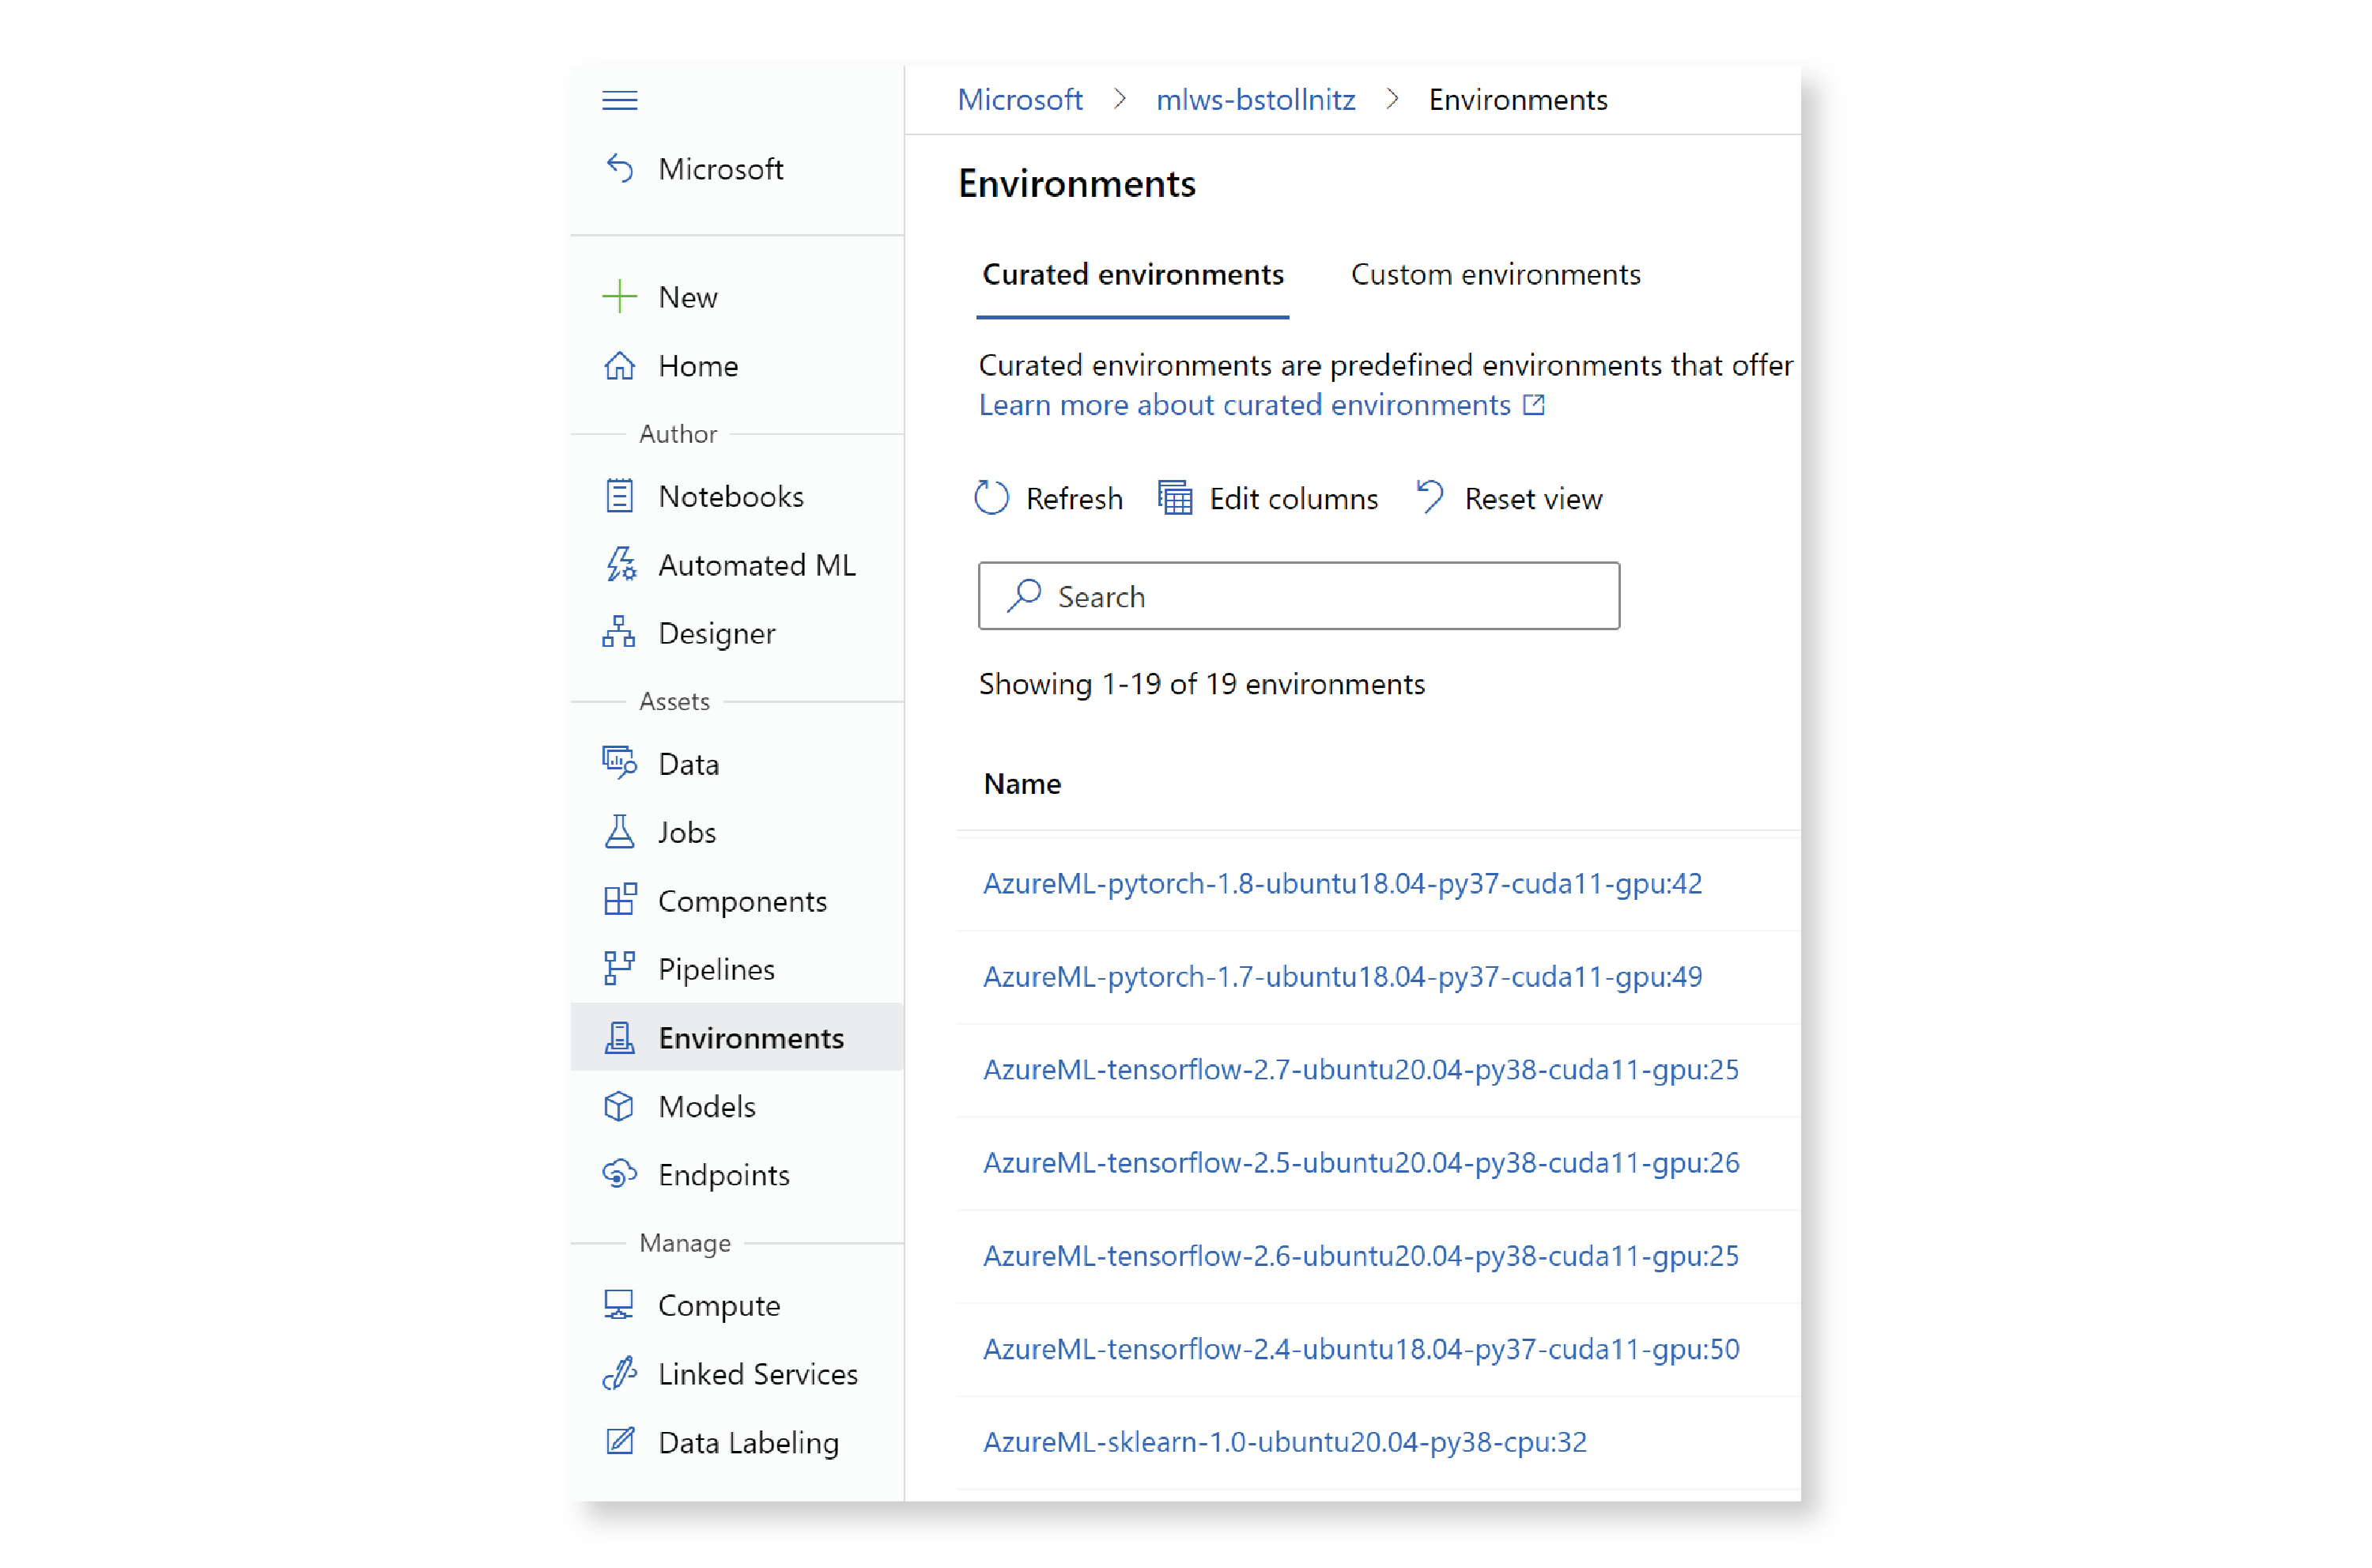
The full list of prebuilt Docker images available for training and inference can be found in the documentation. It is also listed in the Azure ML studio, under “Environments,” and then “Curated environments.”
In addition, if you’re using the Azure ML extension for VS Code, you can find the same list without leaving VS Code. Click on the Azure icon in the left navigation pane, expand your subscription and ML workspace, then expand “Environments” and “Azure ML Curated Environments.”

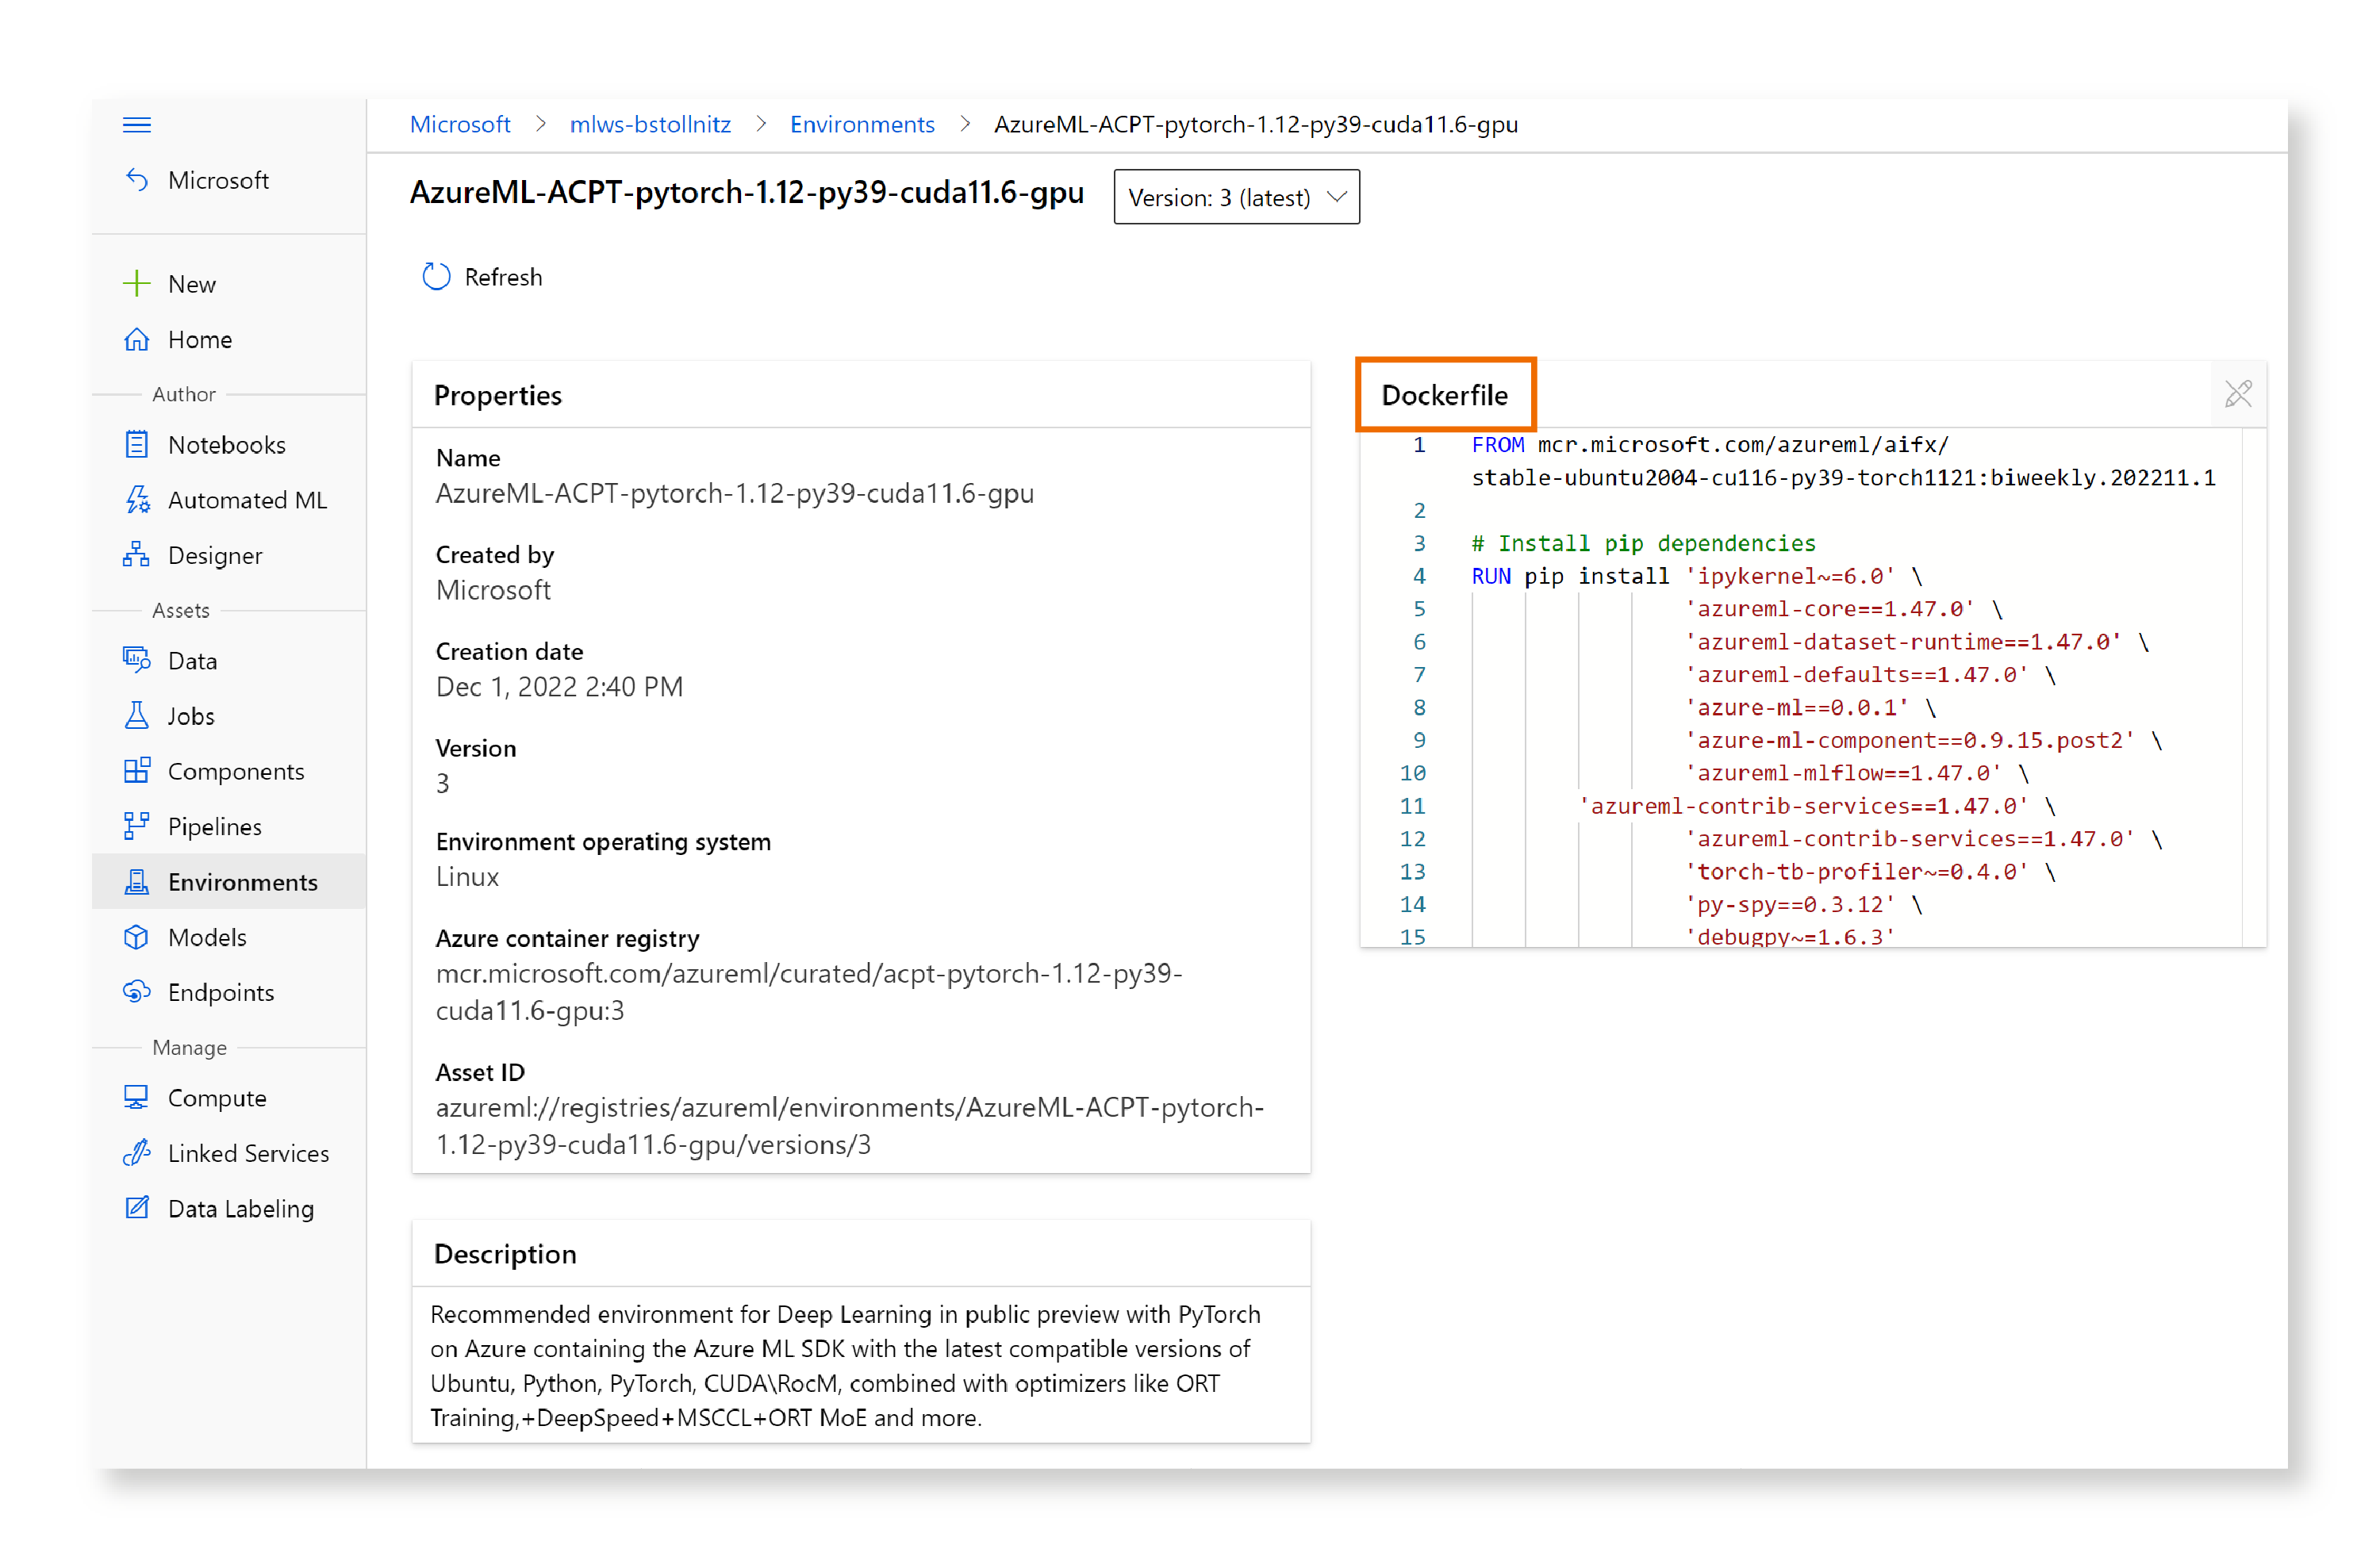
I’d like to call out one particularly interesting set of curated environments that Microsoft has shipped recently: the Azure Container for PyTorch (or ACPT) environments. Each of these consists of a Docker image containing the latest compatible versions of Ubuntu, CUDA, Python, and PyTorch, as well as various state-of-the-art technologies that optimize training and inference of large models. Among other technologies, these environments use the ONNX Runtime to represent the machine learning models, DeepSpeed to improve large scale training, and FairScale to optimize distributed training. If you’re working with large PyTorch models, choosing one of the ACPT curated environments will result in significant performance improvements. You can find the ACPT curated environments by filtering by “ACPT” in the Studio:

Keep in mind that the benefits of using the ACPT environments are more apparent when training large models on multiple GPUs.
Once you’ve selected a curated environment that has the packages you need, you can refer to it in your YAML file. For example, if you want to use one of the ACPT curated environments, your command job YAML file might look like the following job.yml:
$schema: https://azuremlschemas.azureedge.net/latest/commandJob.schema.json

type: command
description: Trains a simple neural network on the Fashion-MNIST dataset.
experiment_name: "aml_environment_1"
compute: azureml:cluster-gpu

inputs:
  fashion_mnist:
    path: azureml:data-fashion-mnist@latest
outputs:
  model:
    type: mlflow_model

code: ../../src
environment: azureml:AzureML-ACPT-pytorch-1.12-py39-cuda11.6-gpu@latest
command: python train.py --data_dir ${{inputs.fashion_mnist}} --model_dir ${{outputs.model}}
Notice that I added an @latest tag to the end of the environment name. This is super useful — this way I can get the latest version of this environment without keeping track of version numbers! If you want to be specific about the curated environment version number, you can specify it using the following syntax:
$schema: https://azuremlschemas.azureedge.net/latest/commandJob.schema.json
...
environment: azureml:AzureML-ACPT-pytorch-1.12-py39-cuda11.6-gpu:3
...
Extending curated environments
To extend a curated environment, your best option is to copy the Dockerfile to your project and add commands to it. To get the contents of the Dockerfile for your curated environment, go to “Environments” in the Studio, “Curated environments,” and then click on the name of environment you’re interested in. The Dockerfile shows up on the next page. Here’s what I see when I click on the ACPT environment I used above:
I then copied the Dockerfile, and added it to my project under a “docker” folder.

I can now add any extra packages by modifying the Dockerfile directly. For example, if I needed package “foo”, I could add the following to the bottom of the Dockerfile:
...
RUN pip install foo
My environment.yml file gives the environment a name and points to the directory where I place the Dockerfile:
$schema: https://azuremlschemas.azureedge.net/latest/environment.schema.json
name: aml_environment_2
build:
  path: docker
I can create this environment on Azure ML with the following command:
az ml environment create -f cloud/environment_2/environment.yml
I can then use the environment in my job.yml file by referring to its name:
$schema: https://azuremlschemas.azureedge.net/latest/commandJob.schema.json

type: command
description: Trains a simple neural network on the Fashion-MNIST dataset.
experiment_name: "aml_environment_2"
compute: azureml:cluster-gpu

inputs:
  fashion_mnist:
    path: azureml:data-fashion-mnist@latest
outputs:
  model:
    type: mlflow_model

code: ../../src
environment: azureml:aml_environment_2@latest
command: python train.py --data_dir ${{inputs.fashion_mnist}} --model_dir ${{outputs.model}}
I can now use this YAML file to train the job as usual.
You may have noticed that I showed two different ways to specify an environment: in my first sample I showed how to add the environment directly to the job YAML file, and in the second I define the environment in its own file, give it a name, and then use it from within the job YAML file by referring to its name. Both options are good. If I didn’t want to register the environment separately in the second sample, I could have added the “build” and “path” sections under “environment” in the job YAML file.
Custom environments based on Microsoft system-managed images
Custom environments are built on top of Docker images, and easily extended with conda files. Most commonly, the base images are provided by Microsoft or found on Docker Hub — I’ll show you both scenarios.
Let’s first consider the system-managed images that Microsoft provides. These are Docker images that contain just the basics: Ubuntu, and optionally CUDA and cuDNN. Keep in mind that these images don’t contain Python or any machine learning frameworks, so when using a system-managed image, you’ll typically provide an additional conda file. I recommend choosing this method if you need packages that aren’t included in the curated environments. A full list of available base images can be found in this GitHub repo.
The environment.yml file is a good example. If I want to create a training environment to be used on a machine with a GPU, I might choose the following:
$schema: https://azuremlschemas.azureedge.net/latest/environment.schema.json
name: aml_environment_3
image: mcr.microsoft.com/azureml/openmpi4.1.0-cuda11.1-cudnn8-ubuntu20.04:latest
conda_file: conda.yml
Notice that, similarly to curated environments, I can specify that I want the latest available version of this image by adding :latest to the end of the mcr path. Alternatively, I could have added a version number such as :3.
By looking at the name of the image, you can guess that it’s based on Ubuntu 20.04, and that it contains CuDNN 8 and CUDA 11.1 installed. Unlike curated environments, there’s no mention of Python or PyTorch because these are not installed by default. If you need those dependencies to run your code, you can add them to your conda.yml file, as shown below:
channels:
  - pytorch
  - conda-forge
  - defaults
dependencies:
  - python==3.10.4
  - pytorch==1.11.0
  - pip
  - pip:
    - azure-ai-ml==1.2.0
You can register this environment on Azure ML and use it from within a job YAML file as usual:
az ml environment create -f cloud/environment_3/environment.yml
Here’s the job.yml file:
$schema: https://azuremlschemas.azureedge.net/latest/commandJob.schema.json
...
environment: azureml:aml_environment_3@latest
...
Custom environments based on Docker Hub images
If you can’t find a Microsoft system-managed environment that works for you, you can use the same method to create a custom environment based on any image you find (or create) on Docker Hub. For example, suppose that you want to use this official PyTorch image as a base for your environment.

You can specify the image in your environment.yml file using a syntax similar to the previous sample:
$schema: https://azuremlschemas.azureedge.net/latest/environment.schema.json
name: aml_environment_4
image: docker.io/pytorch/pytorch:latest
conda_file: conda.yml
You can extend it the same way with a conda.yml file:
name: aml_environment
channels:
  - anaconda
  - pytorch
  - conda-forge
dependencies:
  - python==3.10.4
  - pytorch==1.11.0
  - torchvision==0.12.0
  - tqdm==4.64.0
  - mlflow==1.26.0
  - pip==21.2.4
  - pip:
    - azure-ai-ml==1.2.0
    - azureml-mlflow==1.48.0
Here’s how you can use it in your job YAML file:
$schema: https://azuremlschemas.azureedge.net/latest/commandJob.schema.json
...
environment: azureml:aml_environment_4@latest
...
Conclusion
In this post, I demonstrated how you can define curated and custom environments for your Azure ML project. I discussed how you can use an ACPT curated environment for faster training of large PyTorch models on the GPU, and how you can extend a curated environment. I also showed how to define and extend custom environments using two types of base images: a Microsoft system-managed image, and an image from Docker Hub.
I hope that you found this information useful!
Read next: How to use Azure ML registries to share models, components, and environments